Friday, October 16, 2015

Module 2, Chapter 11: Machine stitching on bleached and monoprinted fabric

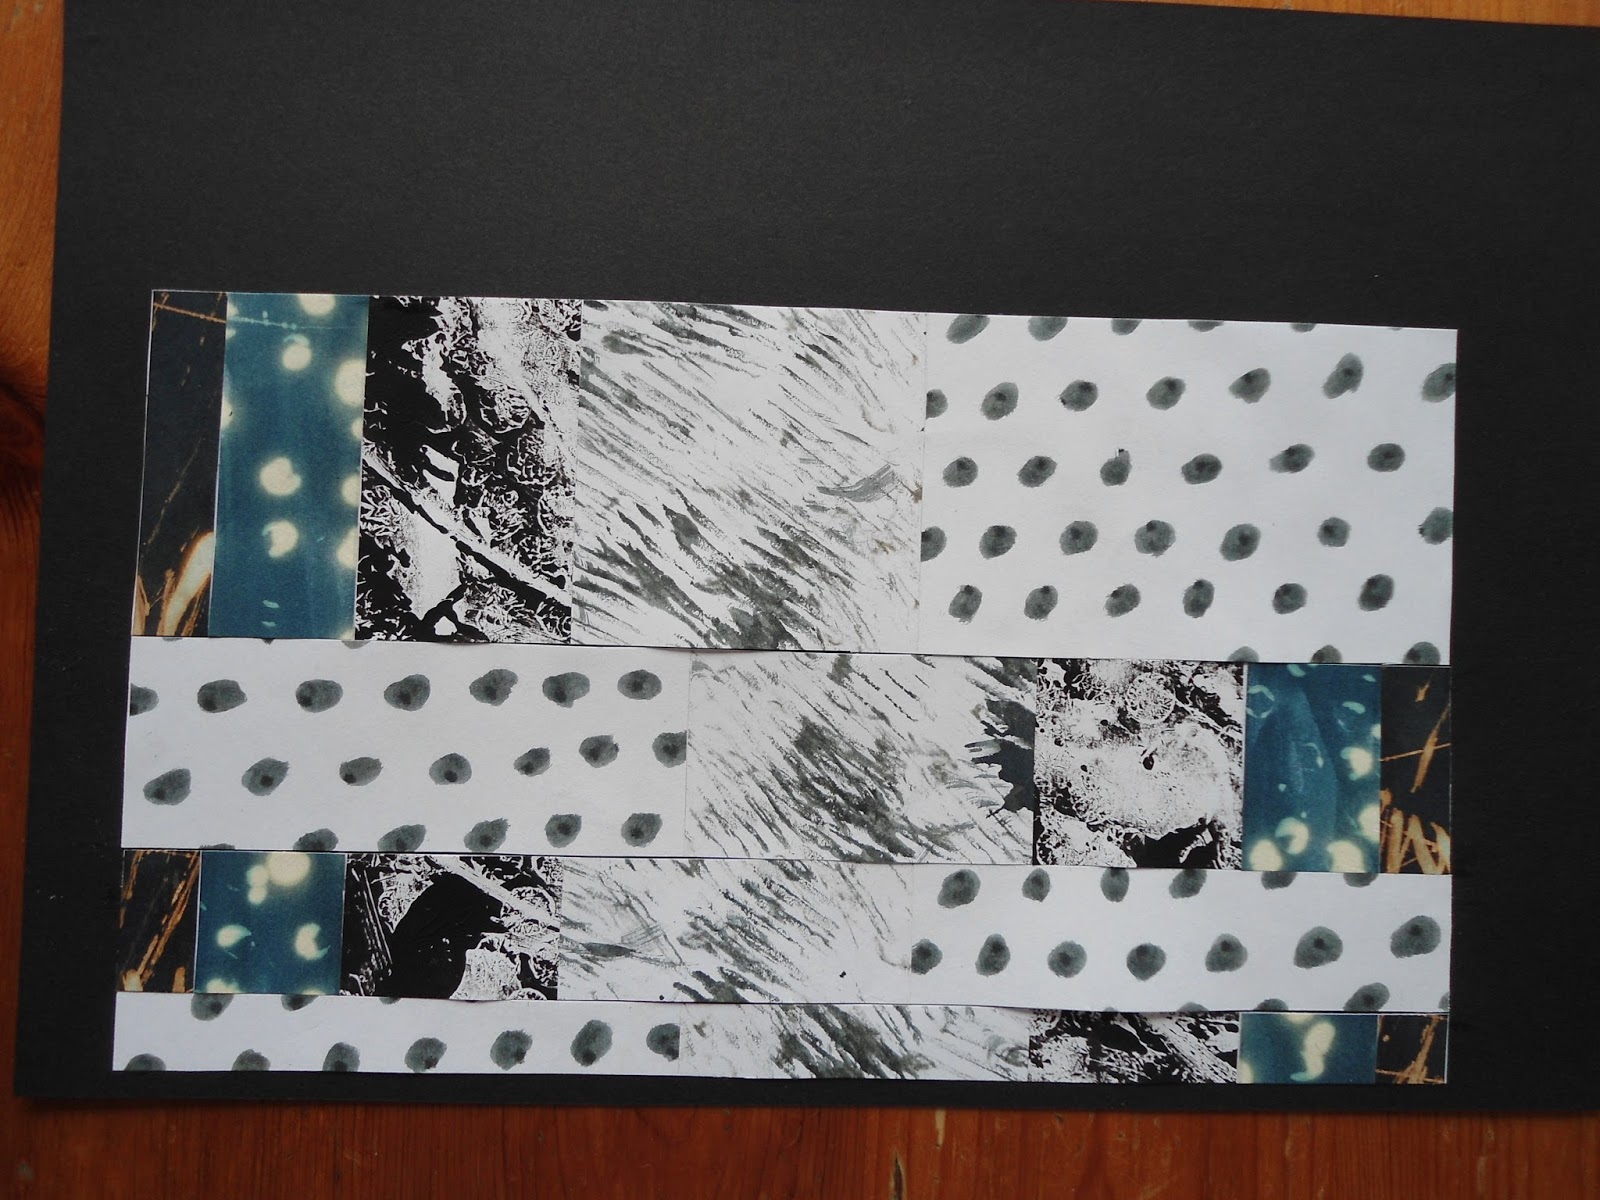
The following set of fabrics were machine stitched using cable and whip stitch in a hopefully sympathetic manner complimenting the previously painted and bleached fabrics.

(i) Cable stitched a previously 'failed' shibori dyed, then monoprinted, fabric. Black pearl cotton #8 in bobbin and white sewing thread in top. Bobbin case had all tension removed; no tension alteration on top. Zig zag stitch with feed dogs up; alternated width as I sewed; also moved fabric while sewing to create curved lines.


(ii) White fabric monoprinted with black fabric paint using bubble wrap. Stitched using zig zag up and down fabric, curving around circles, while adjusting width and length of stitch; feed dogs up. On the slightly lighter section of the fabric I zigzagged around the barely visible circles. Might repeat this in a larger piece of fabric but using lowered feed dogs and a darning foot for free machining zig zag. This was fun to do, reminded me of vermicelli stitching in quilting.


(iii) Cable stitched white PC#8 on black bleached commercial fabric; black sewing thread on top; feed dogs up. No tension in bobbin.  3 step zig zag stitch, altering length and width. Then added layers of overstitching using white sewing thread and same machine stitch. Really like the toned effect created by the lighter layers of stitching with sewing thread. Will likely repeat this and use in final project.


(iv) Black on black: Fabric dyed, more charcoal than black, (it looks blue in the photograph but is actually a rather dark charcoal!)cable stitched using black PC#8 in bobbin and black sewing thread on top; feed dogs up. 3 step zig-zag (#4 on machine). Altered length mostly and moved fabric while stitching to create curves.


(v) Black whip stitch on white fabric: Using the same bobbin as used for cable stitch, ie the tension removed entirely, I placed a bobbin of ordinary black sewing thread in the case and used white sewing thread on top, tightening the upper tension to its tightest (10), I machined zig zag quite quickly as I sewed, moving fabric to create curves and altering length and width as I went.

All in all I am quite pleased with my fabric samples and look forward to creating larger pieces for my final project. I am beginning to overcome my fear of whip stitch and cable stitch. This time there were no difficulties sewing the samples.

Wednesday, October 14, 2015

Module 2: Chapter 11 - Further Design Exercises

The following design exercises were created from paper made for an earlier chapter in this module. A variety of strips were cut up and arranged and rearranged into different patterns. 
The series of designs incorporated different tonal effects, as follows.

(i) Extremes of tone in bold, large areas:


(ii) Dark toned papers together.


(iii) Light toned papers together:


(iv) Medium toned papers, smaller shapes and increased pattern effect:


(v) Lighter, greyer tones, mixing black and whites mixed up in tiny fragments:


(vi) More complex design ideas, combining different blocks:


The following is based on the Fibonnacci sequence:


'Stack and Whack' Designs:

In the following set of blocks I began by creating different sets of patterned designs and then cut them into the same shapes - squares and triangles. I stacked some of the squares on top of each other, and cut the squares in half. The pieces were swapped around to create different patterns. This was my favourite paper exercise and I love the completed designs, and will use them in the next stage of this chapter.


Sunday, September 13, 2015

Chapter 10: 'Piecing' - A Method of Cutting and Seaming

The following exercise was created in paper first, and then fabric, using the Seminole patchwork method as the design source.

PAPER METHOD:

I began by cutting and glueing down a strip of black and another of white paper, approximately 6" x 30", which was cut into sections. These sections were then rearranged into the following arrangement and glued down to form a new 'block':


This block was then cut again and rearranged to create a different arrangement:


I continued cutting and piecing to make the following pattern: [Since I don't own a photocopier, nor do I have access to one, I created a few long strips of black and white and used these to cut for the new 'blocks'.]


I continued playing for a while with cutting and pasting to generate the following designs:


FABRIC METHOD:

In the following sample I repeated the approach used in the paper samples by cutting 2 pieces of plain fabric - 1 black, 1 white, each about 6" x 30" to allow for all the seam allowances. The initial long strips were seamed togetehr on the long side. This was then divided into 3 section using the Fibonnacci sequences as the measurement - 1:2:3, which worked out at 5" - 10" - 15". At this point only the smallest 5" section was cut off and set aside until later.
Returning to the long piece I made 3 diagonal parallel cuts and rearranged them and then stitched them back together. Then I re-cut in a different direction and stitched together again. This piece was then cut into the Fibonnacci sequence proportion of 2:3, setting the smaller piece aside until later.
The final section was cut, stitched, re-cut, stitched again until I found it difficult to get sections under the sewing machine. Finally I joined this much cut and machine piece to the other 2 sections previously set aside. To finish it off I 'worried' the seams until they were well frayed and hence more interesting. In the photos below I show both sides of the piece.


All in all an enjoyable chapter to work through. My initial attempts to create the fabric based design went a bit haywire on my first attempt when I began by cutting the first long strip folded over so that when I machined them together I ended up with a rather interesting 3 dimensional piece which looked like a pixie's hat! :)


Wednesday, September 9, 2015

Chapter 9: The Fibonnacci Sequence and Golden Section

Design Exercises Based on the Fibonnacci Sequence using patterned paper


(1) Patterned papers graded into a tonal column based on the Fibonnacci series of proportions:


(2) Above design cut at right angles and arranged in alternate way based on the Fibonnacci sequence.


(3) Above design divided at right angles and cut into Fibonnacci strips placed with a gap between each strip and glued down.


(4) Fibonnacci strips arranged on plain black background leaving gaps of the Fibonnacci series of proportions:


(5) Flipped alternate strips to make the following design [this was my favourite design!]:


(7) Another Fibonnacci block prepared for the next set of blocks [2 copies created]:


(8) Strips from above arrangement cut into strips and arranged in a  square design, leaving a small gap between central strips:


(9) Srtips from #7 above arranged into a log cabin patchwork block.

(10) Strips cut diagonally and arranged into an alternating pattern becoming narrower as it progressed:


(11) As above but from a different angle:


The Golden Section


(12) Sketch of the Golden Section. I enjoyed creating this as it helped me understand the theory!

(13) Golden Section created using tonal patterned papers:


(14) A small variation on the Golden Section which emphasizes the diagonal line in each square, illustrating the spiral effect more clearly: