PAPER METHOD:
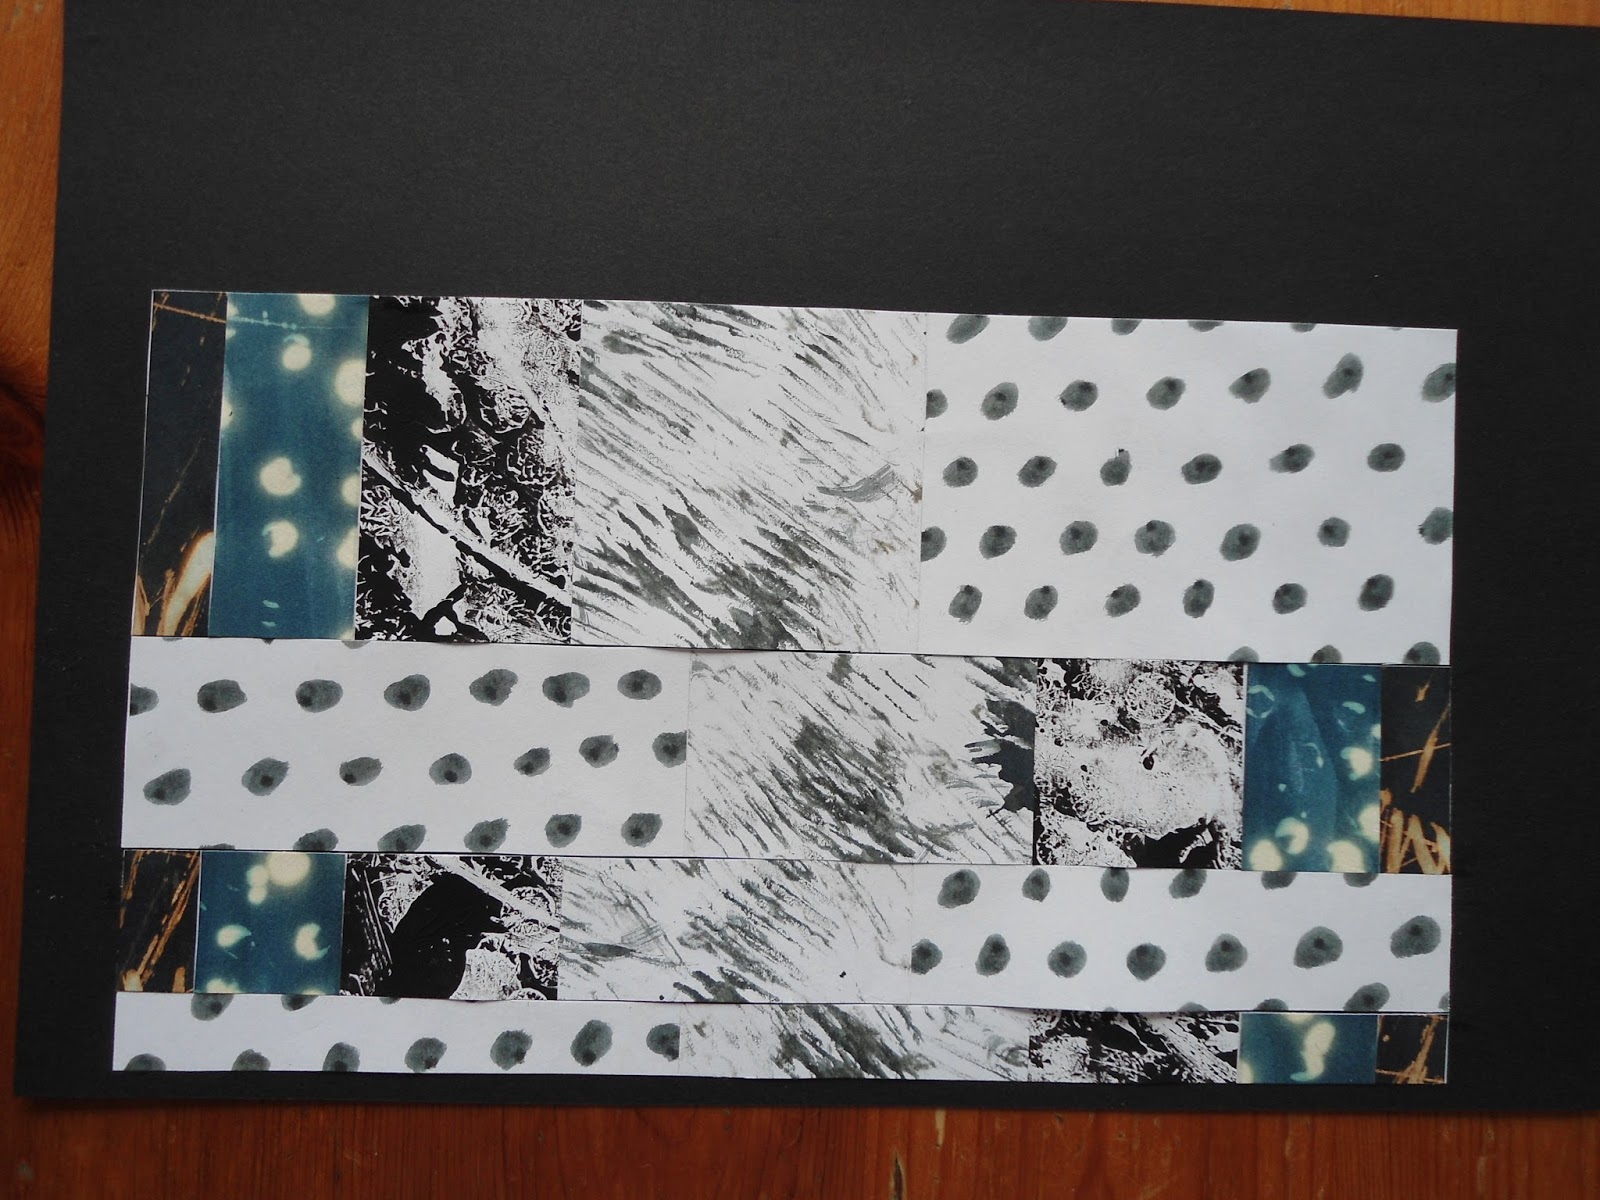
I began by cutting and glueing down a strip of black and another of white paper, approximately 6" x 30", which was cut into sections. These sections were then rearranged into the following arrangement and glued down to form a new 'block':

This block was then cut again and rearranged to create a different arrangement:

I continued cutting and piecing to make the following pattern: [Since I don't own a photocopier, nor do I have access to one, I created a few long strips of black and white and used these to cut for the new 'blocks'.]

I continued playing for a while with cutting and pasting to generate the following designs:


FABRIC METHOD:
In the following sample I repeated the approach used in the paper samples by cutting 2 pieces of plain fabric - 1 black, 1 white, each about 6" x 30" to allow for all the seam allowances. The initial long strips were seamed togetehr on the long side. This was then divided into 3 section using the Fibonnacci sequences as the measurement - 1:2:3, which worked out at 5" - 10" - 15". At this point only the smallest 5" section was cut off and set aside until later.
Returning to the long piece I made 3 diagonal parallel cuts and rearranged them and then stitched them back together. Then I re-cut in a different direction and stitched together again. This piece was then cut into the Fibonnacci sequence proportion of 2:3, setting the smaller piece aside until later.
The final section was cut, stitched, re-cut, stitched again until I found it difficult to get sections under the sewing machine. Finally I joined this much cut and machine piece to the other 2 sections previously set aside. To finish it off I 'worried' the seams until they were well frayed and hence more interesting. In the photos below I show both sides of the piece.


All in all an enjoyable chapter to work through. My initial attempts to create the fabric based design went a bit haywire on my first attempt when I began by cutting the first long strip folded over so that when I machined them together I ended up with a rather interesting 3 dimensional piece which looked like a pixie's hat! :)