Friday, October 31, 2014

Chapter 3 - Cable Stitch Samplers


Sample #1: Loosened lower bobbin tension, upper tension normal. Black pearl cotton #8 wound on to bobbin, white sewing thread on top; straight stitch;  altered stitch length and spacing; double layer of fabric.

Sample #2: Black pearl cotton #5 in bobbin - removed screw and tension cover entirely from bobbin case; white sewing thread on top; normal tension; altered spacing; 3 step zig zag; layers of stitching.


Sample #3: Bypassed tension altogether; 6 stranded white cotton floss wound on to bobbin; white sewing thread on top; normal top tension; 3 step zig zag stitch; combined overlapping layers and spacing.

Sample #4: Transparent fabric on top of stitch and tear; black pearl cotton #8 wound on to bobbin; black sewing thread on top; pre-set embroidery stitch #67 on my Bernina 'Virtuosa 155'.


Sample # 5: 2 layers of transparent fabric - didn't use Stitch and Tear this time as I found it too hard to remove in sample #4. 6 stranded cotton floss wound on to bobbin; black sewing thread on top. Continuous curved zig zag line of stitching; moving from wide to narrow settings, with gentle manipulation of fabric to create curves by swivelling.

Comments: I loved creating these samples and could probably have continued on as it seemed the more I did, the more ideas I had for possible samples. My favourite were samples # 4 and # 5. I wonder what would happen if I tried this on soluble fabric?!

Tuesday, October 14, 2014

Chapter 3 - Finally whipped Whip Stitch!

Sian made a few suggestions for me to try to increase the loops I was(n't!) making in my initial set of samples. Tone work was nice but the whipping needed more whipping :) And as it happened #13 turned out not to be so unlucky for me, this time anyway (not that I'm supersticous, of course!)

I began by trying out Sian's suggestions, which included reversing the tension, i.e. loosening the top and trying either tight or normal for the bobbing tension. I couldn't get either to work for me. Then Sian suggested I try a slightly thinner thread in the bobbin to fool the machine into thinking that the tension is looser. That didn't work either! Seems these newer models are quite difficult to trick into whipping stitches. They seem to adjust automatically to compensate!

So I went right back to the beginning, only this time taking it to the very edge - I pretty much loosened the bobbin screw until it was about to fall off, and tightened the top tension as far as it would go [#10 on my Bernina]. And it worked! I love my loops!!

The sample was worked on 2 layers of white cotton, using a zig zag stitch. I altered the length and width of the stitch as I progressed. Also discovered that the faster I machined the bigger the loops! I had to start and stop stitching at the end of each line to avoid serious puckering of fabric. I also had to be careful when pulling the work away from the machine to cut the threads that the thread didn't pull out unravelling the stitches.
All in all very pleased with the results of this sample :)


Friday, October 3, 2014

Chapter 3: Whip Stitch Samples

(xiii) Whipped zig zag stitch - loosed bobbin tension and tightened upper tension; adjusted length and width of stitch.
(xiv) Whipped feather stitch - loosened bobbin tension and tightened upper tension progressively; white thread on top, black in bobbin.
(xv) Whipped zig zag - controlled stitch length; white thread on top, black on bottom; loose bobbing tension, tight upper tension.
(xvi) Whipped straight stitch - stitch length and gaps alter tone.

This was my first attempt at trying whipped stitch. I bought a new bobbin to use for this type of machine stitching. I had to alter the bobbin tension a lot to see any noticeable results. I can see that this stitch holds lots of possibilities, especially in colour work, eg for 'pointillist' painterly effects.

Monday, September 29, 2014

Chapter 3: Tonal Effects in Machine Stichery

The following samples were machined with the presser foot on using zig zag, straight stitch and a couple of embroidery stitches. All samples were worked on a double layer of cotton fabric for stability, with black polyester sewing thread in the bobbin and on top. All samples are approximately 4 inch square.


Details of samples:
(i) Zig zag - altered stitch length, also widened gaps between lines of stitching.
(ii) Zig zag - altered stitch length only, inserting a few lines of very short zig zag stitches btween larger stitches to close up gaps. I like the lacey effect this produced.
*
(iii) Zig zag - altered stitch width only; widening gaps.
(iv) 4 way zig zag - altered stitch width, widened gaps at edges.
*
(v) Zig zag - changed position of needle in machine while stitching, increasing size of stitch in increments; also widening gaps.
(vi) Feather stitch - adjusted width and stitch length, progressing from small to large; overlapping.
*
(vii) Honeycomb stitch - lines of same sized stitching working from small to large, adjusting width and length in each line; also adjusting spacing between lines of stitching.
(viii) Straight stitch - taking straight stitch for a walk! Unbroken line, swivelled and turned.
*
(ix) Zig zag - similar to (viii) above but taking zig zag for a 'walk' this time!
(x) Cross stitch - altering balance, widthways and lengthways. Also widening gaps between lines of stitching.
*
(xi) Zig zag - lines of zig zag, varying width and lengthalong each row; overlapping lines of stitching; widening spaces.
(xii) Inner circle, outer stitching, altered width and length of zig zag.

Thursday, August 21, 2014

Module 2: Chapter 2 - Stitched Tonal Studies

A. Tonal column in stitchery


This sample was stitched on 10 holes to the inch canvas, in freely worked cross stitches, massed on top of one another and overlapped. Threads were black and white pearl cotton #8 and fine threads.

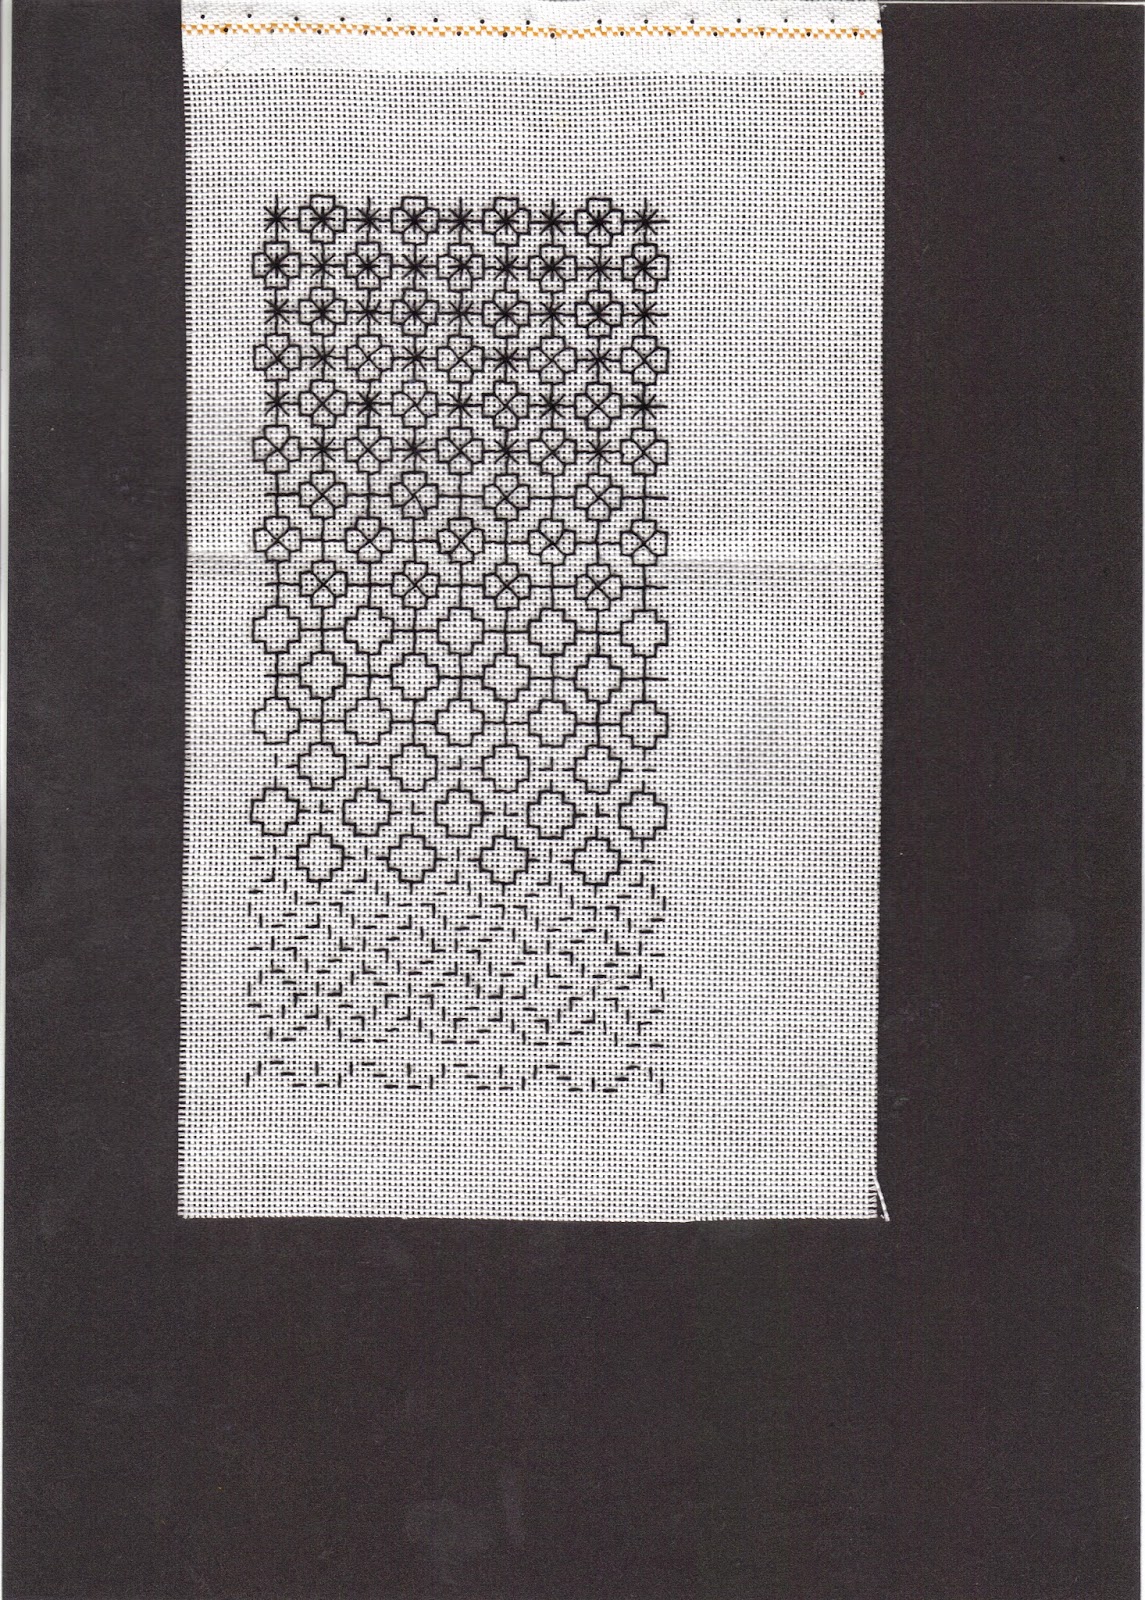
B. Tonal effects using the technique of blackwork


Designs above based on traditional blackwork patterns. Drawn on to graph paper with a black marker/ Patterns can be both added to, to make darker, and subtracted from, to make lighter, thus altering the tones through addition and subtraction of lines.

C. Blackwork tonal columns

(i) Using pattern development I created a darker tone, working a few rows before adding to the pattern.


(ii) Using spacing of the stitches: In this sample the spacing between the stitches controlled the tones.


(iii) Using thickness of thread: The threads used progressed from fine black sewing thread to a single strand of stranded cotton, then flower thread,  pearl cotton #8, 3 strands of stranded cotton, and finally 6 strands of stranded cotton. In this sample the spacing remains constant, only the thread thickness is altered.


Tuesday, March 11, 2014

Chapter 1 - The Study of Tone

For this chapter of tonal columns, I used a variety of media, including: charcoal, black ink, black Brusho paints, water soluble markers and crayons, black sugar paper (punched for circles), white tissue paper, and a variety of black, grey and off-white images from a glossy magazine, as well as the sides of a whiskey hip flask for a crayon rubbing! :)
The columns were 7 cms wide and the length of an A4 page.
Sample #1: [left hand side] black charcoal stick
Sample #2: [right-hand side] calligraphy pen

Sample #3: [left-hand side] black ink and a cotton bud
Sample # 4: [tight-hand side] rubbing of side of hip flask with black child's crayon.
Sample #5: [left-hand side] Brusho paint applied with the edge of a credit card
Sample # 6: [right-hand side] water soluble marker, lightly brushed with water#
Sample # 7: [left-hand side] punched circles from black sugar paper
Sample # 8: [right-hand side] black colouring pencil, cross hatching
Sample #9: [left-hand side] black ink applied with scrunched up kitchen roll
Sample #10: [right-hand side] black water soluble crayon, brushed with water
Sample # 11: [left-hand side] black, grey and off-white papers torn from a glossy magazine
Sample # 12: [right-hand side] column painted with black Brusho paint leaving just lower end clear, then stuck torn pieces of tissue paper scattered on top. This column is my mixed media sample.

MODULE TWO: 'Animal Magic' - Introduction

Collect visual information:


Make a list of associated words that describe your subject:

Mark Making: