For the following exercise I used squares of loosely woven white calico, initially cut into four inch squares.
Sheet #1:
The above page shows the results of my initial three fabric experiments. The top two samples are simple squares folded, and then cut. The bottom sample uses the negative pieces left over from the middle sample.
The second set of samples shows my initial attempts at fraying the cut squares. The top sample was snipped as per text instructions and then cut edges were frayed. The middle sample was folded first, then cut and frayed. The bottom sample is a simple square, frayed, then turned on the diagonal. Four small triangles were placed in the angles.
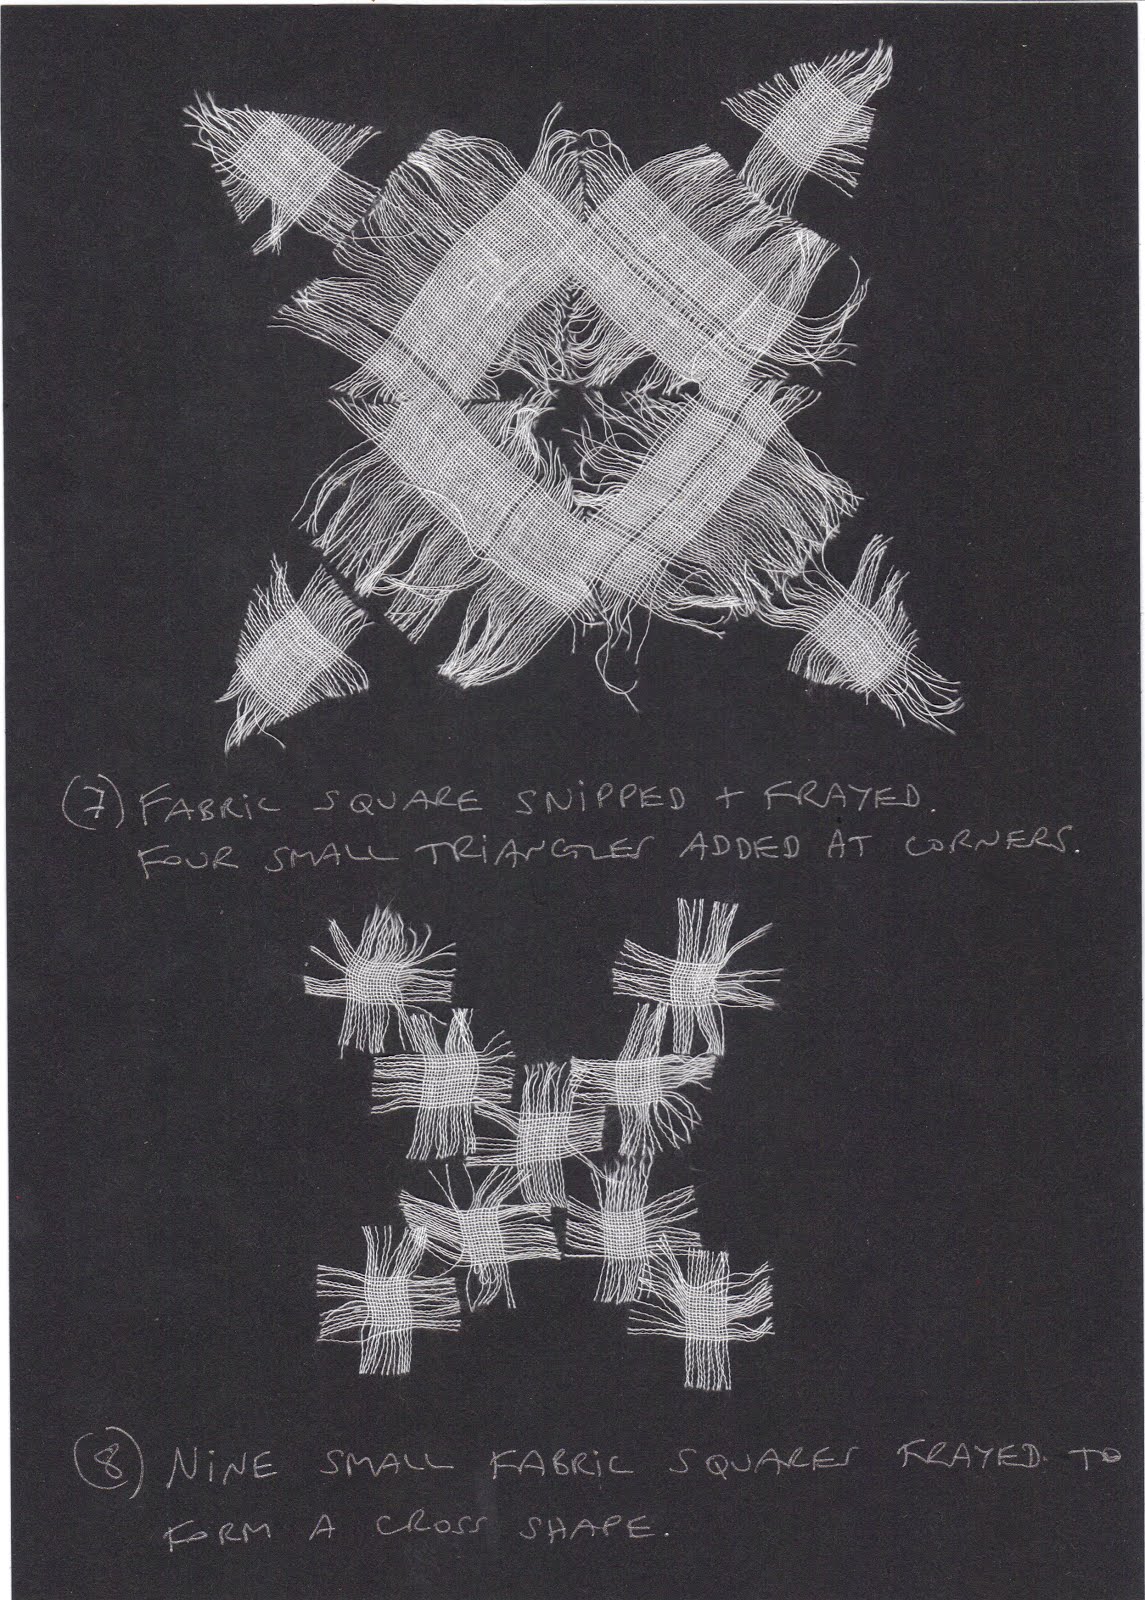
The third set of samples includes a fabric square snipped and frayed with four small triangles added to corners. Beneath that is a sample consisting of nine small squares frayed and then arranged to form a cross shape.
The next set of samples consists of two frayed rectangles placed diagonally across each other to form a cross shape, followed by a fabric square, folded, cut and then all the negative shapes were used.
The first of the final two samples is quite interesting in that I began by creating the 'fabric' by bonding some tiny scraps of calico and lots of threads between two layers of Bondaweb. The two arms of the cross were then laid one on top of the other. The last sample is a square snipped as directed in text and then cut and edges frayed.
All in all a fun and relaxing set of samples to make! The loose weaved fabric made it very easy to carry out the fraying aspect, and I really like the disintegration which results. Personally I would like to carry this idea into a sort of contemporary interpretation of seventeenth century whitework samplers.



 As I love the freedom of the free machining process I enjoyed playing with my motifs in this manner, and plan to use free maching on soluble fabric in my resolved piece.


 The series of free cross stitch samples were worked on hand dyed silk using wool and cotton embroidery threads.

 Samples 4,5+6 worked on cut-out shape with shape appearing to become larger through lines of stitching. [Fabric and thread as above.]
Sample #7: Long, frayed edges left and then held in place using free machine stitching.
Sample #8,9+1: The following set of samples illustrate how a shape can appear less solid using lines of free machine stitching. Samples worked on old cotton/linen table cloth which was space dyed and stitched with space dyed machine rayon thread.
 Samples #11,12,13+14: The following samples show how a shape can be made less solid using bonding techniques, sprinkling few bits and pieces as the series went on.