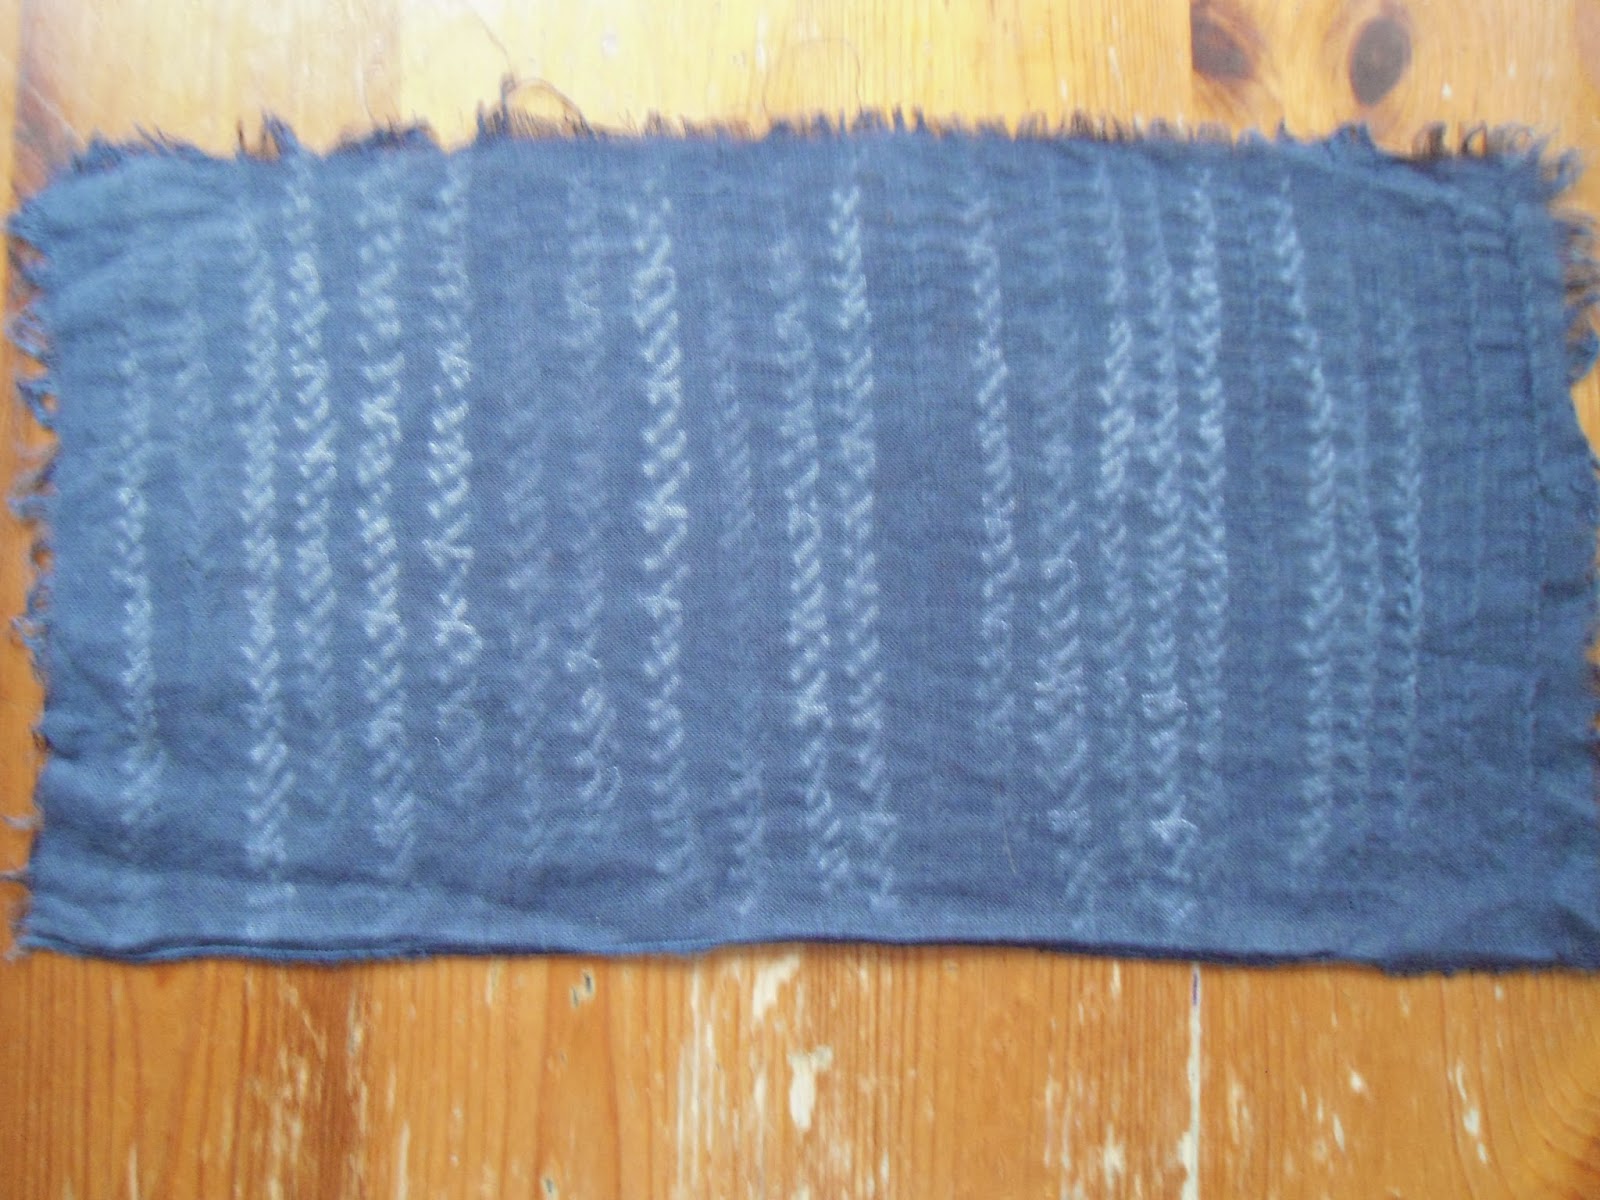
This is what they looked like:
Though I was mightily distressed at the time, I later realised that these pieces gave me, in fact, a nice selection of light valued fabrics which could be used later on in this module.
So I set to work stitching again, hardly a hardship since I LOVE hand stitching, and playing with shibori stitching is wonderfully soothing and relaxing. At least until you have to pull those stitches up tightly and then a little tighter - an activity which is rather hard on the fingers and best done while watching tv and drinking wine! :)
And here's a photo of my reflection taking a picture of my bucket of dye:
Here's a selection of my shibori samples:
ARASHI SHIBORI:
I loved how this turned out. In my previous unsuccessful attempts I had tried working arashi using a weighted Coke bottle, which I managed to keep submerged by holding down with the handle of the bucket! This time I wrapped the hard cardboard core of a cling film roll in layers of plastic before wrapping with a 36" wide piece of cotton, 8" long. Here's what it looked like before submerging in the dye bath:
TIE AND DYE:
These samples all worked particularly well. While the colour on the computer has rendered them more blue than black, in fact they are closer to charcoal, albeit with a blue tinge. The camera seems to have picked up n the blueness rather than the charcoal / black. One thing I did learn from all my experiments was that there are many kinds of black, and even the kind of cotton used for dyeing affects the outcome of the final colour.
These were all made using pegs, bulldog clips, rubber bands and string as resists.
TRITIK SHIBORI:
All of the following samples were stitched with nymo beading thread. I stitched straight lines, squares, zig zag lines, curved lines, and spirals. The spirals were hardest to pull tight, but were surprisingly effective. Some lines were stitched using simple straight stitch, while others were over-stitched leaving a lovely 'teeth' like effect after dyeing.
MONOPRINTS WITH BLACK FABRIC PAINT:
The following samples were worked using a variety of media, including bubblewrap, edge of cardboard and old library card, cotton buds, brayer rolled over back of page, end of cardboard tube, and corrugated cardboard. One thing I learned was that it was necessary to work fast, so the choice was to plan ahead or accept the serendipitous results!
Some of the following samples were worked on the previously 'failed' pieces of shibori.


Lovely work - you've been so inventive!
ReplyDeleteThese look fabulous, Edith. I especially love the arashi shibori sample - the zigzag effect from the way you have tied it is amazing. You have done well to get a charcoal colour on these. I found my shibori dyeing produced a mid-grey at best, so have filled in the darker end of my tonal column with the monoprints and also some pieces of bleached commercially-dyed black fabric.
ReplyDeleteI love your shibori fabrics Edith - they have been really successful. The pale ones art the start will be very useful later in the module, or even in other projects.
ReplyDeleteI much prefer the pretty peach ones at top to the blue.
ReplyDelete