Sunday, September 13, 2015

Chapter 10: 'Piecing' - A Method of Cutting and Seaming

The following exercise was created in paper first, and then fabric, using the Seminole patchwork method as the design source.

PAPER METHOD:

I began by cutting and glueing down a strip of black and another of white paper, approximately 6" x 30", which was cut into sections. These sections were then rearranged into the following arrangement and glued down to form a new 'block':


This block was then cut again and rearranged to create a different arrangement:


I continued cutting and piecing to make the following pattern: [Since I don't own a photocopier, nor do I have access to one, I created a few long strips of black and white and used these to cut for the new 'blocks'.]


I continued playing for a while with cutting and pasting to generate the following designs:


FABRIC METHOD:

In the following sample I repeated the approach used in the paper samples by cutting 2 pieces of plain fabric - 1 black, 1 white, each about 6" x 30" to allow for all the seam allowances. The initial long strips were seamed togetehr on the long side. This was then divided into 3 section using the Fibonnacci sequences as the measurement - 1:2:3, which worked out at 5" - 10" - 15". At this point only the smallest 5" section was cut off and set aside until later.
Returning to the long piece I made 3 diagonal parallel cuts and rearranged them and then stitched them back together. Then I re-cut in a different direction and stitched together again. This piece was then cut into the Fibonnacci sequence proportion of 2:3, setting the smaller piece aside until later.
The final section was cut, stitched, re-cut, stitched again until I found it difficult to get sections under the sewing machine. Finally I joined this much cut and machine piece to the other 2 sections previously set aside. To finish it off I 'worried' the seams until they were well frayed and hence more interesting. In the photos below I show both sides of the piece.


All in all an enjoyable chapter to work through. My initial attempts to create the fabric based design went a bit haywire on my first attempt when I began by cutting the first long strip folded over so that when I machined them together I ended up with a rather interesting 3 dimensional piece which looked like a pixie's hat! :)


Wednesday, September 9, 2015

Chapter 9: The Fibonnacci Sequence and Golden Section

Design Exercises Based on the Fibonnacci Sequence using patterned paper


(1) Patterned papers graded into a tonal column based on the Fibonnacci series of proportions:


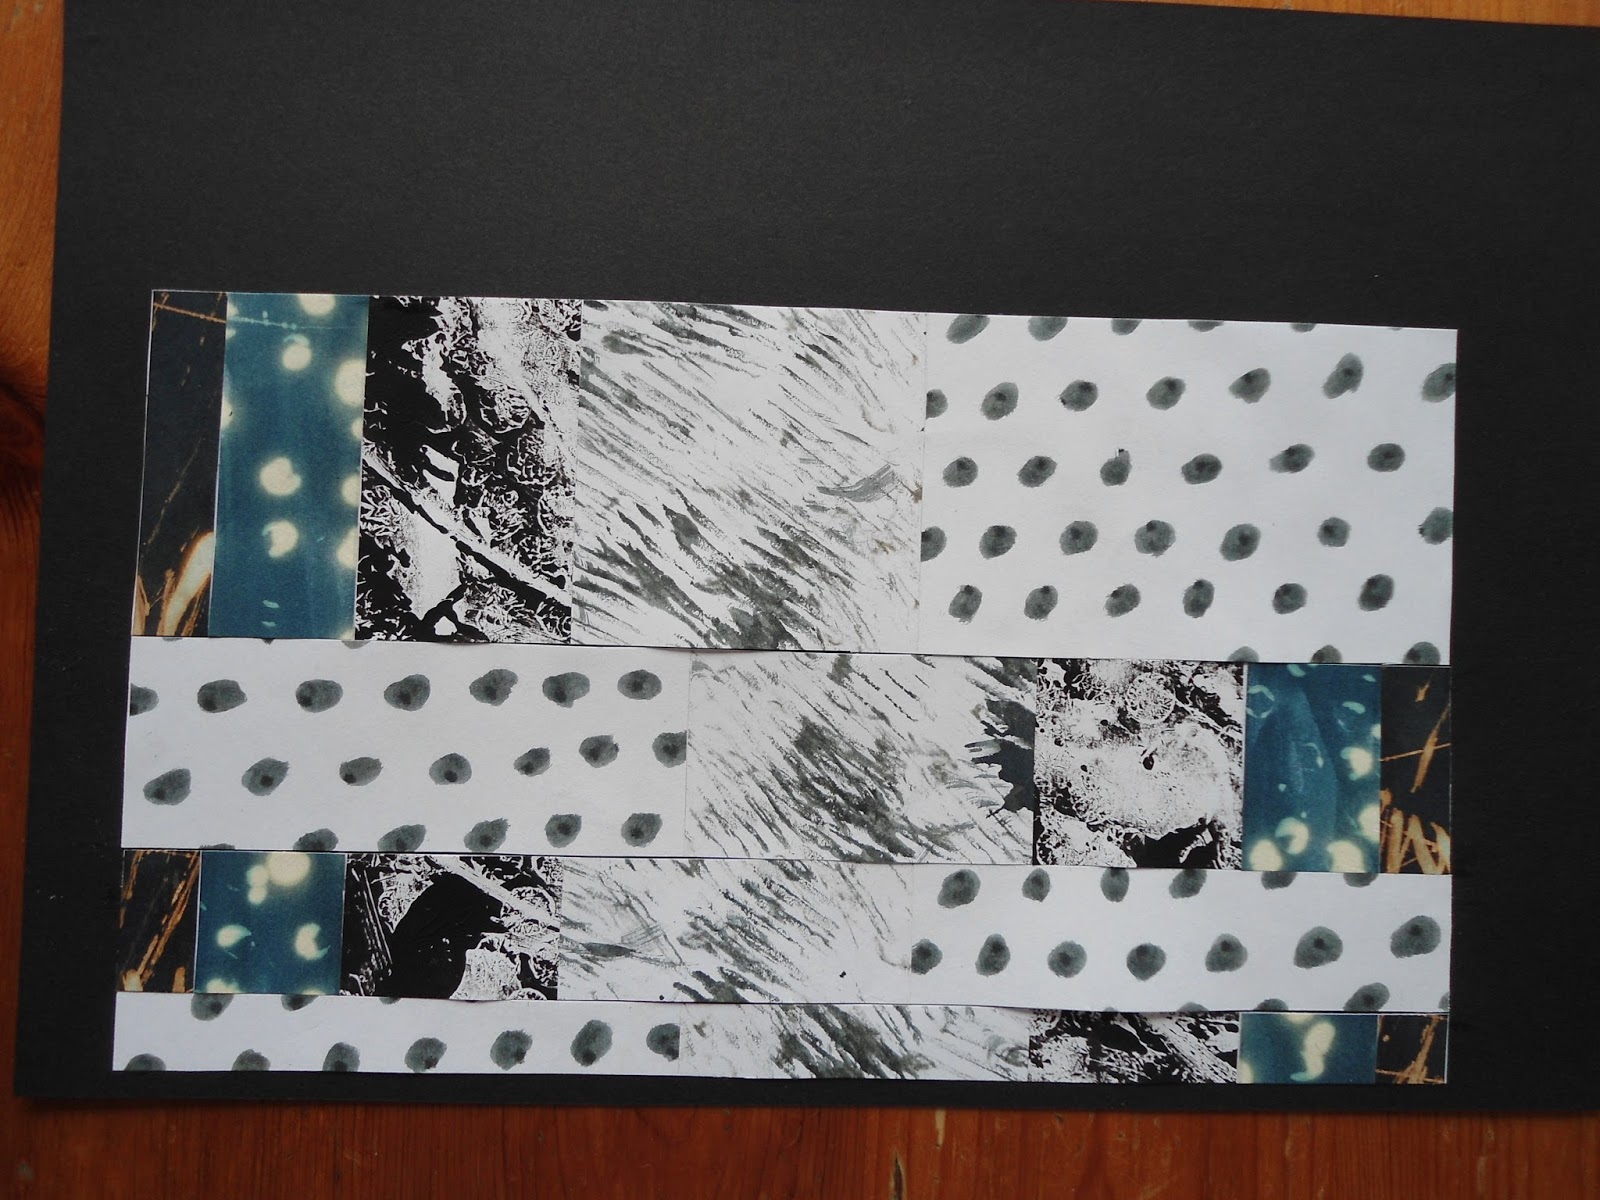
(2) Above design cut at right angles and arranged in alternate way based on the Fibonnacci sequence.


(3) Above design divided at right angles and cut into Fibonnacci strips placed with a gap between each strip and glued down.


(4) Fibonnacci strips arranged on plain black background leaving gaps of the Fibonnacci series of proportions:


(5) Flipped alternate strips to make the following design [this was my favourite design!]:


(7) Another Fibonnacci block prepared for the next set of blocks [2 copies created]:


(8) Strips from above arrangement cut into strips and arranged in a  square design, leaving a small gap between central strips:


(9) Srtips from #7 above arranged into a log cabin patchwork block.

(10) Strips cut diagonally and arranged into an alternating pattern becoming narrower as it progressed:


(11) As above but from a different angle:


The Golden Section


(12) Sketch of the Golden Section. I enjoyed creating this as it helped me understand the theory!

(13) Golden Section created using tonal patterned papers:


(14) A small variation on the Golden Section which emphasizes the diagonal line in each square, illustrating the spiral effect more clearly:


Tuesday, August 18, 2015

Chapter 8: Not What It Seams!

FRAYED AND STITCHED SEAMS:

(1) 
 Shibori dyed (arashi) cotton, seamed with piece of loosely woven dyed cotton, which was frayed down to the seam. Alternated groups of threads which was then stitched over with an automatic embroidery stitch (c-58) on my Bernina machine.

(2) 
White satin ribbon stitched with automatic machine stitch (c-72). Stitched to 1 edge of black fabric, using free machine zig zag, length set to 0, and imitating curves of automatic embroidery stitch. Repeated on other side. 
Reverse side :

(3)

 2 pieces of shibori stitched loose woven cotton, with 2 layers of thinner strips of white loose woven cotton inserted into seam, which was then frayed. Darker fabric whip stitched to echo lines of shibori , varying length and width of zig zag stitch.

(4)
4 lengths of thread knotted at top to hold all strands together - 2 strands of hand spun bamboo and 2 strands of rayon. When seaming the pieces of black fabric together I was careful to arrange the threads in loops. Next I stitched the loops down in alternate arrangement.
Reverse side: Snipped loops

(5)
This was a fun sample to design and stitch. I began by heavily stitching 2 wide strips of black and white fabric, using an automatic embroidery pattern (c-72), feed dogs lowered and darning foot used. These strips were then cut in half, and then stitched back together, before cutting and re-stitching again. Next I cable stitched over everything and used it as a wide seam insertion between some commercial black and white spotted fabric. 3 strands of rayon thread were zig zagged together to make a cord. I attached the cord over the seam lines with a zig zag stitch. 
Reverse side: [photographed under different light!]


IDEAS FOR TRIMMINGS

A. RIBBONS

(6)
Freely stitched automatic pattern (c-72) with feed dogs lowered and using darning foot, swivelled while stitching by moving fabric. Placed on shibori dyed fabric with free machines zig zag swivelled, altering width as I went.

(7)
Strip of black cotton fabric attached to loose woven white cotton. Lines of "swinging stitches" using automatic embroidery stitches (c-72) settings as normal, and stitched while swinging the fabric. Edges of white fabric frayed.

(8)
4 layers of cotton, in decreasing widths, stitched down centre to hold all layers together.  3 loosely woven for ease of fraying and second layer pre-stitched with zig zag varying the width and length of stitch, curving lines as I sewed. Loose woven cottons frayed back to stitching.

(9) 
 
Black fabric stitched with free machined automatic embroidery stitch (c-72) swivelled while stitching - feed dogs lowered, darning foot and hoop used. Stitched initially on larger piece of fabric and then cut to size. I wanted to see if using a hoop made any difference to the stitching but since I was also using a darning foot it didn't!

(10)

3 layers of cotton fabric, loose woven, different widths, stitched with  step zig zag, varying lengths and widths. All edges frayed.

CORDS

(11)
This cord was made from 2 strips of cotton, one black and one white. Tied into a series of knots.

(12)
This cord was made from 3 strips of cotton, grey, white and black, which were plaited and then knotted at the top and the bottom.

(13)
Scrap from free form piece in previous chapter 7, rolled and twisted, then zig-zagged at widest width.

(14)
Handspun bamboo, finger crocheted, then knotted at intervals. Free machined using darning foot, zig-zag at widest width, length set to 0, tension normal.

(15)
Twisted strip of frayed shibori dyed fabric, zig zagged to hold in place.

TOGGLES

(16)

Made toggles with 2 narrow strips of black and white fabric. Embroidered with automatic stitch (c-74), normal tension, feed dogs up, swivelled while stitching. Both strips stitched. Sewed a black strip with a white one, using same stitch, but this time black thread on top and white in bobbin. Interestingly I expected that the black stitching would show up clearly against the white fabric, but instead I got a speckled grey. The white bobbin thread showed up clearly against the black. Made 3 toggles. Edges left to fray. Tied into toggle, then inserted in seam. Decorated the the black and spotted white fabric with multiple rows of free machined automatic stitch (#19).

(17)

I tired to pull a few of the elements explored above into a final sample. Instead of stitching seams by placing fabrics directly against one another to create a normal seam, I decided to try overlapping the fabrics instead, leaving enough fabric to allow for frayed fringes. I really like the effect and will definitely use this in the future. The beaded toggles at the top were created by rolling up strips of fabric which were first pre-frayed along the 2 longer edges and 1 short edge, then held in place with black thread. Sewn in place by hand. The 2 lines of cording were made with rayon thread and size 11 beads threaded on to sewing thread and then held parallel to rayon while free machine zig zagging along length - feed dogs down and darning foot. It was a bit of a challenge to move beads under darning foot.

References used when making samples for this chapter:
Machine Embroidery, Stitched Patterns, Valerie Campbell-Harding
Edges & Finishes in Machine Embroidery, Valerie Campbell-Harding



Tuesday, July 21, 2015

Chapter 7: Part 2 - Seminole Method, Fabric Samples

The following are my series of seminole samples created using my own shibori dyed, monoprinted and stitched fabrics, as well a couple of commercial fabrics. Each one was based upon elements created during the design phase, as posted in the first part of these chapter notes.

(1) Basic seminole patterns created from simple strips sewn, cut and re-pieced:


(2) Slightly more complex strip piecing:


 (3) Strips sewn, cut at an angle and then re-pieced:


(4) Alternating strips:


(5) More alternating strips:


(6) Introducing bleached fabric:


(7)  In this sample I played with mirror images, but this time with fabric. Having had difficulties with this technique when playing with papers, I found working with fabric easier. Four strips were pieced in the ratio of 3:1:2:3, which was then folded in half, and cut at angles, then sewn together to create a zig zag pattern.


(8) The next complex block was created from 4 strips put together in a ratio of 2:1:1:2. This was then cut into 2" and 1" lengths, and then re-pieced in  2:1:1:1:2:1:1:1:2 alternate arrangement.


(9) The following sample combined a number of seminole strips explored in the samples above. Most of the seams were left raw and front facing seams, frayed.


References for all patchwork samples created for Chapter 7:

Strip Patchwork by Valerie Campbell-Harding

The Complete Book of Patchwork, Quilting and Appliqué by Linda Seward